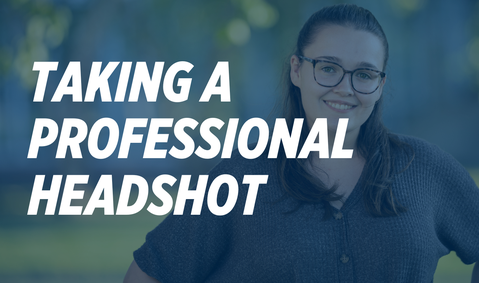
Professional Headshots
Everyone needs a professional headshot image to support their personal brand online to make a good first impression.
If you’re interested in getting headshots taken by a photographer, this service is typically provided at a cost. The photographer not only snaps your photo, but will likely spend time editing your image to perfection which costs them their time. The average rate for a professional headshot is anywhere between $25 to $100 depending on the need, number of images taken and edited and the experience level of the photographer. Whether you visit the local photography studio or book with your best friend’s cousin, be prepared to pay for their time and service.
There are ways to DIY your headshot and still have a professional image as the final result. You will find resources and step-by-step guides included on this website as well as suggestions for getting the best result.
Tips & Tricks for Looking the Part
You’ll want to avoid company logos or clothing articles that are too busy in their patterns or colors. Depending on your field, you may want to wear a suit jacket and dress shirt or another option more fitting to your industry.
Be comfortable and confident in your hair to have the best final image. Remember, this image is showcasing who you are and we want you to shine as yourself. If you have long hair, consider how it will lay on your shoulders and keep the center part of your chest and neck clear when possible. If you have the opportunity to change your hair placement during your photoshoot to test different angles – this would allow you to find the best look of them all. It may be helpful to carry hair products or use water to tamper down flyaways.
The most important part of this image is to show up as yourself and be confident – both when it comes to facial hair and makeup. Be mindful of what may show up differently on camera based on lighting or the clothing you have picked out. Some photographers will help edit the exact color of your rosy cheeks or glare off your glasses while others may charge extra for that feature.
Find the balance of natural light versus electric lights. Consider facing the window instead of having your back to the window. If you are DIYing your photo, take a few sample selfies as practice to find the right lighting. Sometimes it is helpful to be seated or standing depending on the space you are in. You may want to take images outside to provide better lighting options.
A white wall may not be the perfect option for your image depending on your personal brand or the lighting in the space. You want the space around you to not look cluttered or messy, have personal information showing and more.
If you need to use your phone camera, you should do your best to have another person take your photo or consider using a stand or other way to prop your phone so you can use the front camera instead of a selfie. Don’t have another person with you? Use a timer to get to your place and let the camera do the work for you. We do not typically recommend portrait mode because it will change the settings on your photo before the editing process
You will want to pick an angle that flatters you the best – this may be straight on, angled from slightly higher or slightly lower. It typically works best from 2-4 feet away. Try a few each way to find the best version of you! We recommend taking photos with and without your teeth showing with a smile.
You may wish to tame those flyaways; make your cheeks more or less rosy; or crop out your arm holding the camera. All of these can be done on a variety of apps or websites.
Once your image is edited and finalized, you will want to post it to your LinkedIn profile and have it available for other needs. This could be at your current or future employer on their Staff Biography page or on a team website. Save the image in your preferred online document storage and on your cell phone to always have access to the original file.
Additional Resources for Getting the Perfect Headshot at Home:


